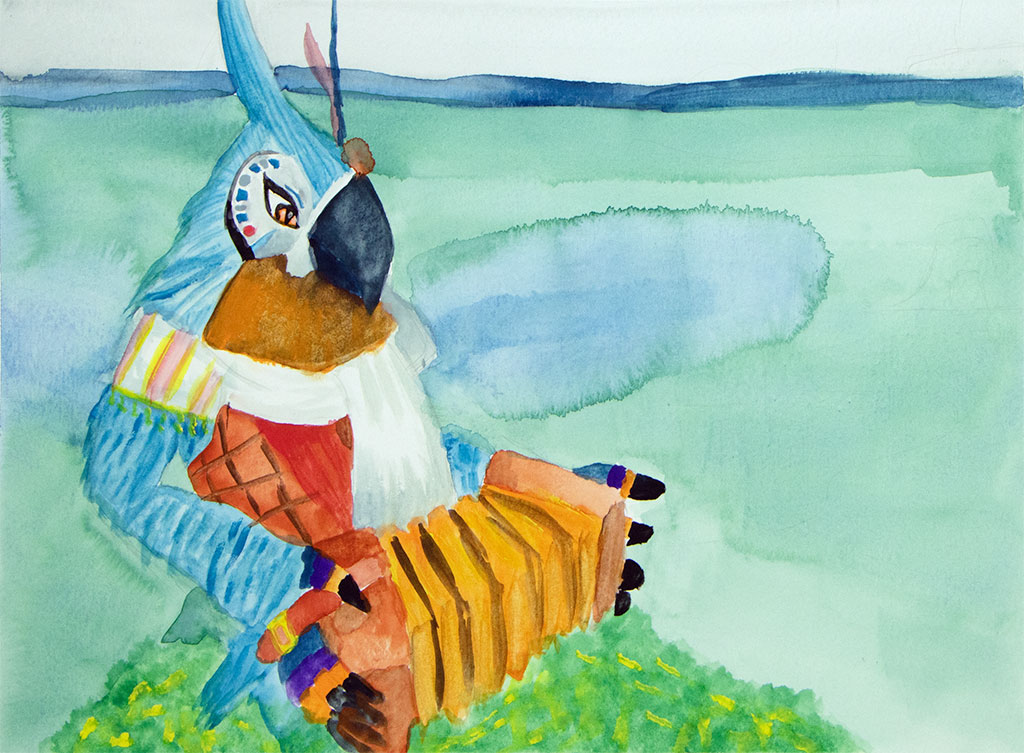
Painting
Dimensions:
9″ x 12″
Medium Used:
Gouache
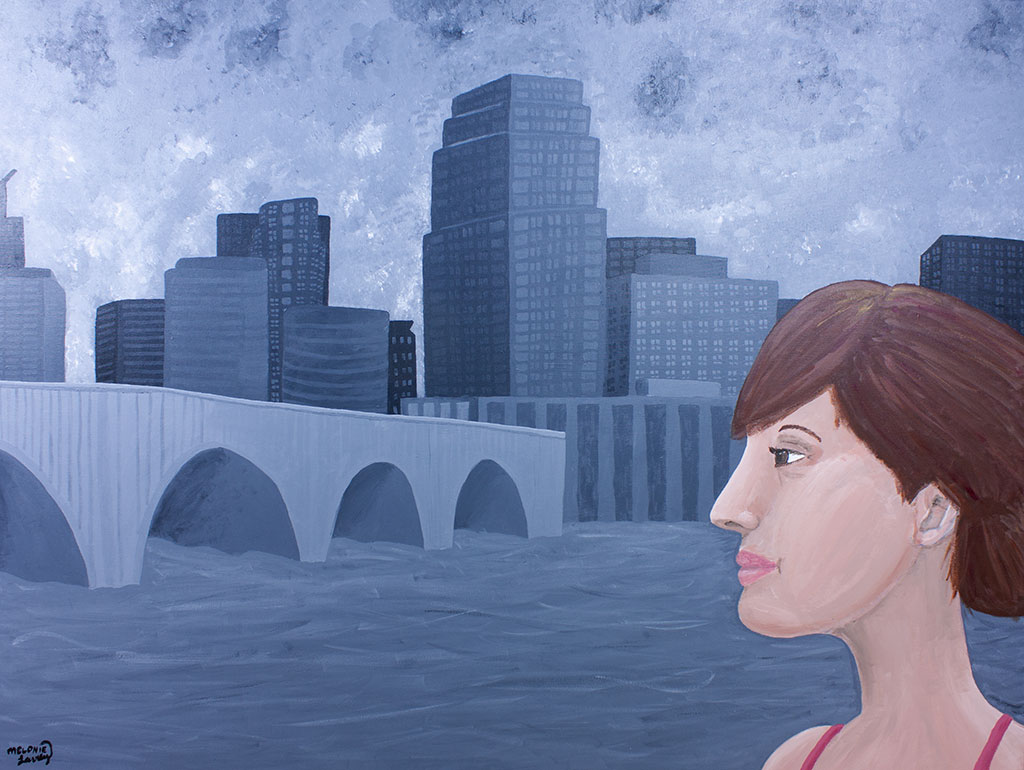
Painting
Dimensions:
9″ x 12″
Medium Used:
Gouache
Painting
Dimensions:
18″ x 24″
Medium Used:
Acrylic
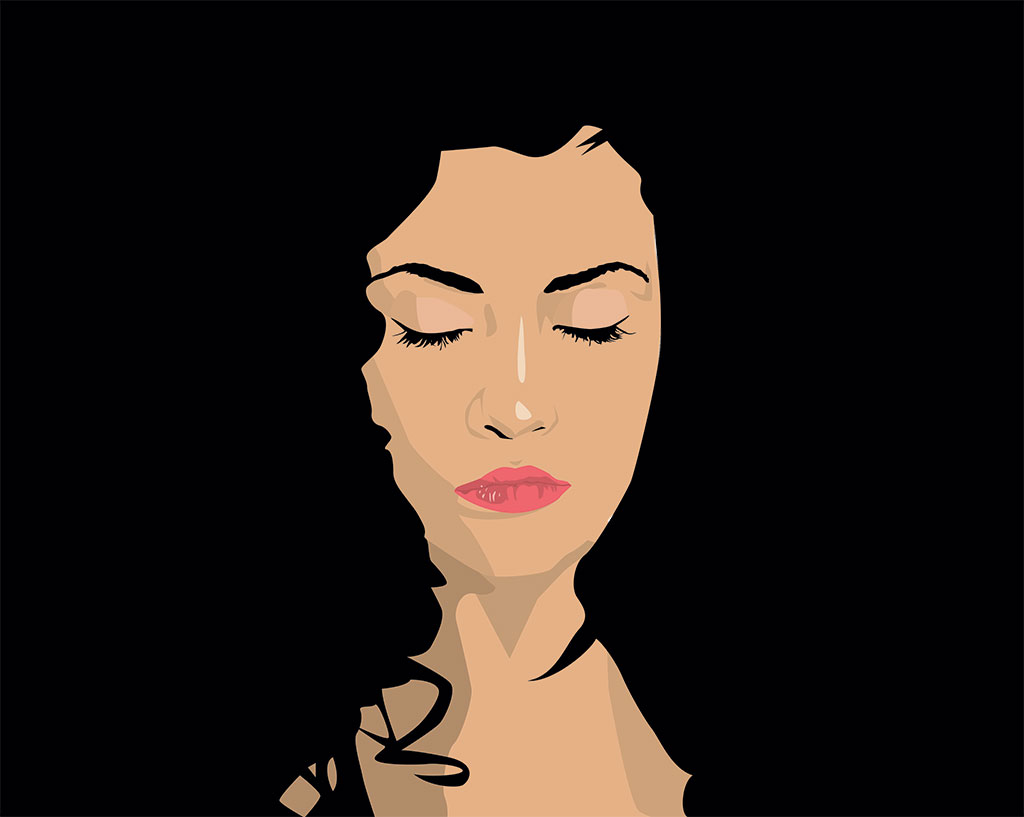
Digital Redraw from Photograph
Dimensions:
12.25″ x 9.75″
Program(s) Used:
Illustrator
For about a year, I was working on the board game Cloudspire at work. It’s complete, and the staff just got their copies recently! Not only is this the first big game that I’ve worked on with the company, it’s also the first game where I’ve been involved right at the beginning. It has been a good learning project and a lot of fun! And to date, it’s my best work yet!
It was a completely different experience to be involved in the game from the very beginning. When I worked on Too Many Bones, there was already a design aesthetic set up, and I had to make sure that everything I did matched up with what was already in place. With Cloudspire, I had a part in shaping how the game would end up looking, which was very rewarding, but also very challenging.
The most difficult part is getting everything to fit on a chip and be legible. Every chip has at least nine different pieces of information on it. And because the main artist, Anthony LeTourneau does such a great job on the art, we try our best to keep it as large as it can possibly be. But since playing the game is the most important part, every symbol and piece of game information needs to also be clear and legible.
This was also the first project that I managed multiple artists. In addition to Anthony, we also had Jared Blando working on all of the neoprene hex art. His art is beautiful and bright and vibrant. The biggest challenge was making sure that both of the artists’ work looked coherent and seamlessly fit together. Since their styles are different, it was not the easiest task. But I think it also helped that the only place where their art was merged was on the neoprene fortresses.
My favorite pieces are the covers for the solo and cooperative scenario books. They were some of the last designs that I did for the game, and I love how the scratches worked with the background art. It added a grunge that gives you an idea of what is back there, but really calls more attention to the art and makes it stand out. The only thing that makes me sad is that the covers were printed so dark. (You can’t tell this in the photos because I lightened them to look as I had intended.)
I liked the cover art so much, that I used the same effects when I designed the booth panels. (I’ll write a separate design post for that at another time.)
This was by far the most difficult game for me to photograph. There are so many pieces to the game, I couldn’t get a photo of everything without the edges of my photo setup showing up (which is why I have a lot of detail shots below). Plus, we went with a matte finish on the chips this time, which is absolutely beautiful, but has to be photographed at specific angles in order to not cause a huge glare!
Now the only thing left is for me to learn how to play the game! We were so busy putting together all of the content that went into this game, that I never had a chance to playtest. And since I’ll be explaining the game at Essen this year, it would be helpful to know the intricacies of it!


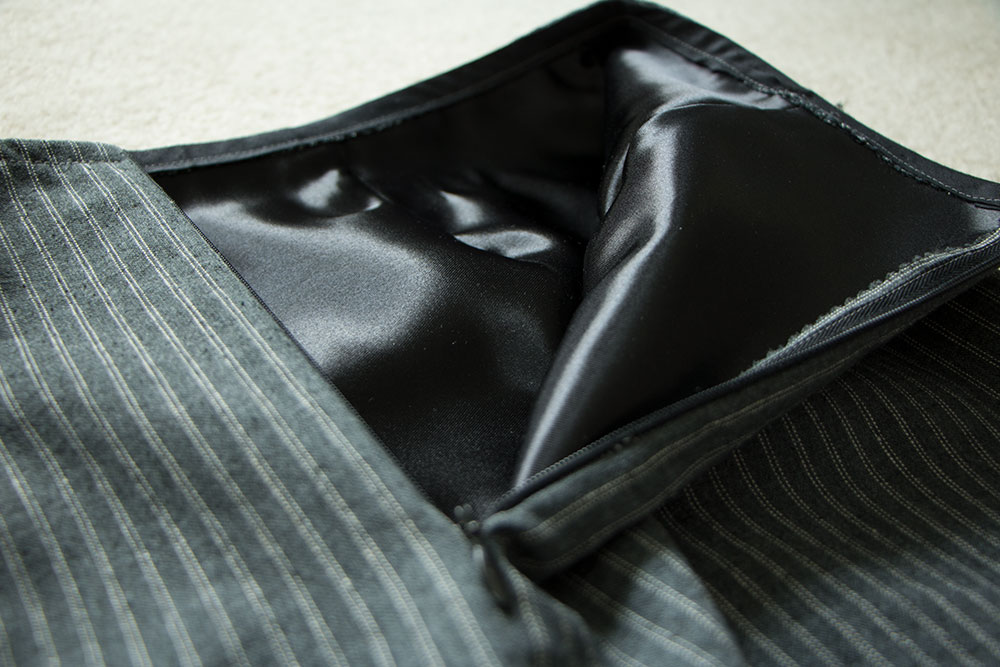
Last year, I bought some new fabric to make myself a classy pencil skirt. I don’t know that I’ve ever owned a pencil skirt, so I was excited to add one to my collection. Since I planned on wearing it in colder weather, I also decided to line it, which proved to be pretty difficult!
I got the fabric from S.R. Harris, and I love it! It’s recycled, so it’s a little different from anything I’ve worked with before, but it’s nice because it’s hefty and looks classy.
I didn’t have a regular pattern for this skirt. I used the book Flirt Skirts to draft one by measuring out the pattern in the back of the book and recreating it on a large sheet of paper. The original size that I drafted wasn’t fitting right, so I put it on inside out and did some alterations. In my altering, I tapered the skirt in a little more near the hem, since the shape looked more pleasing. I didn’t realize until wearing the skirt to work one day, that my tapering was too much, and I now have to unzip the skirt to use the bathroom, since I can’t bring it up over my hips! Oops!
As I mentioned above, the lining was difficult for me. I’ve never lined anything before, and the book didn’t have instructions for it. So I searched the internet, watched some YouTube videos, and got started creating the lining. I’m not exactly sure what I did wrong, but the lining is much smaller than the skirt. So it’s a little tight in some areas that would not be tight if it were just the skirt. I also had a hard time making the waistband of the skirt because the lining was so slippery. I put the skirt on and folded the waistband, since that seemed to be the easiest way for me to figure out how to get it to work. But that caused its own problems, and now the zipper is not lined up correctly. But on the good side, the skirt feels pretty hefty, and the lining is nice.
If I were to make this skirt again, I would also have added a kickpleat. Not having one makes it difficult to get in and out of the car. And I’m a tall person and take large steps, and without a kickpleat, I feel like I’m being restricted to walking slowly, which I don’t love.
So, overall, I’m pleased with the skirt. As long as I wear a longer shirt to cover up the zipper, it looks nice and is a great new piece for my wardrobe!


You must be logged in to post a comment.